DIY Plinko: Build Your Own Game Board
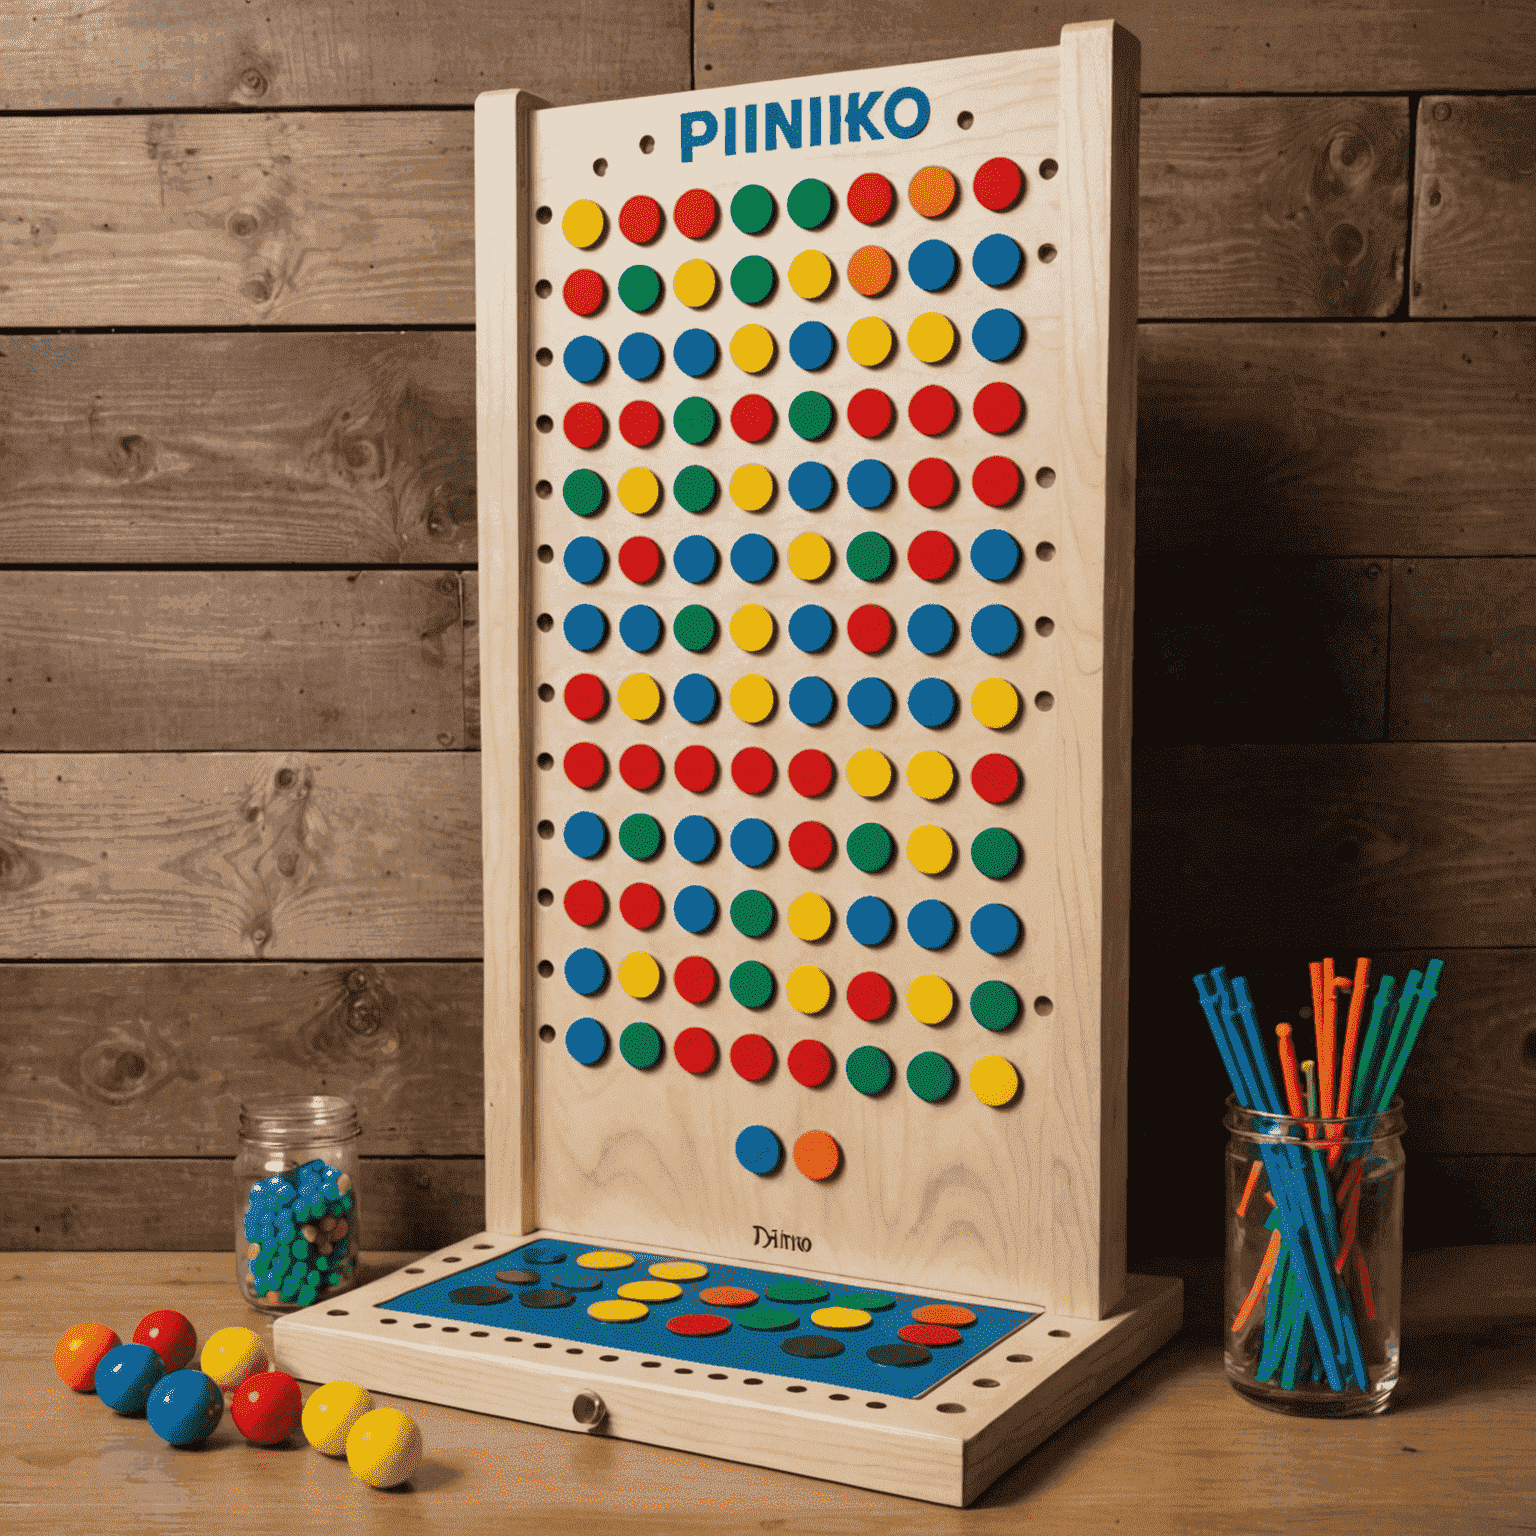
Bring the thrill of Plinko into your home with this step-by-step guide on creating your very own game board. Whether you're a fan of the classic board game or just looking for a fun DIY project, this tutorial will walk you through the process of building a Plinko board that's sure to entertain family and friends.
Materials Needed
- 1 large wooden board (4' x 2' recommended)
- 100-150 wooden dowels (1/4" diameter, 2" length)
- Wood glue
- Drill with 1/4" drill bit
- Sandpaper (medium and fine grit)
- Paint or wood stain (optional)
- 5-7 plastic discs (can use large chips chips)
- Thin plexiglass sheet (optional, for front cover)
Step-by-Step Construction
1. Prepare the Board
Start by sanding your wooden board to ensure a smooth surface. If desired, apply paint or wood stain at this stage and allow it to dry completely.
2. Mark Peg Positions
Using a pencil and ruler, mark out a triangular grid for your pegs. Start with 7 holes at the top, increasing by one each row until you reach the bottom. Ensure even spacing between marks.
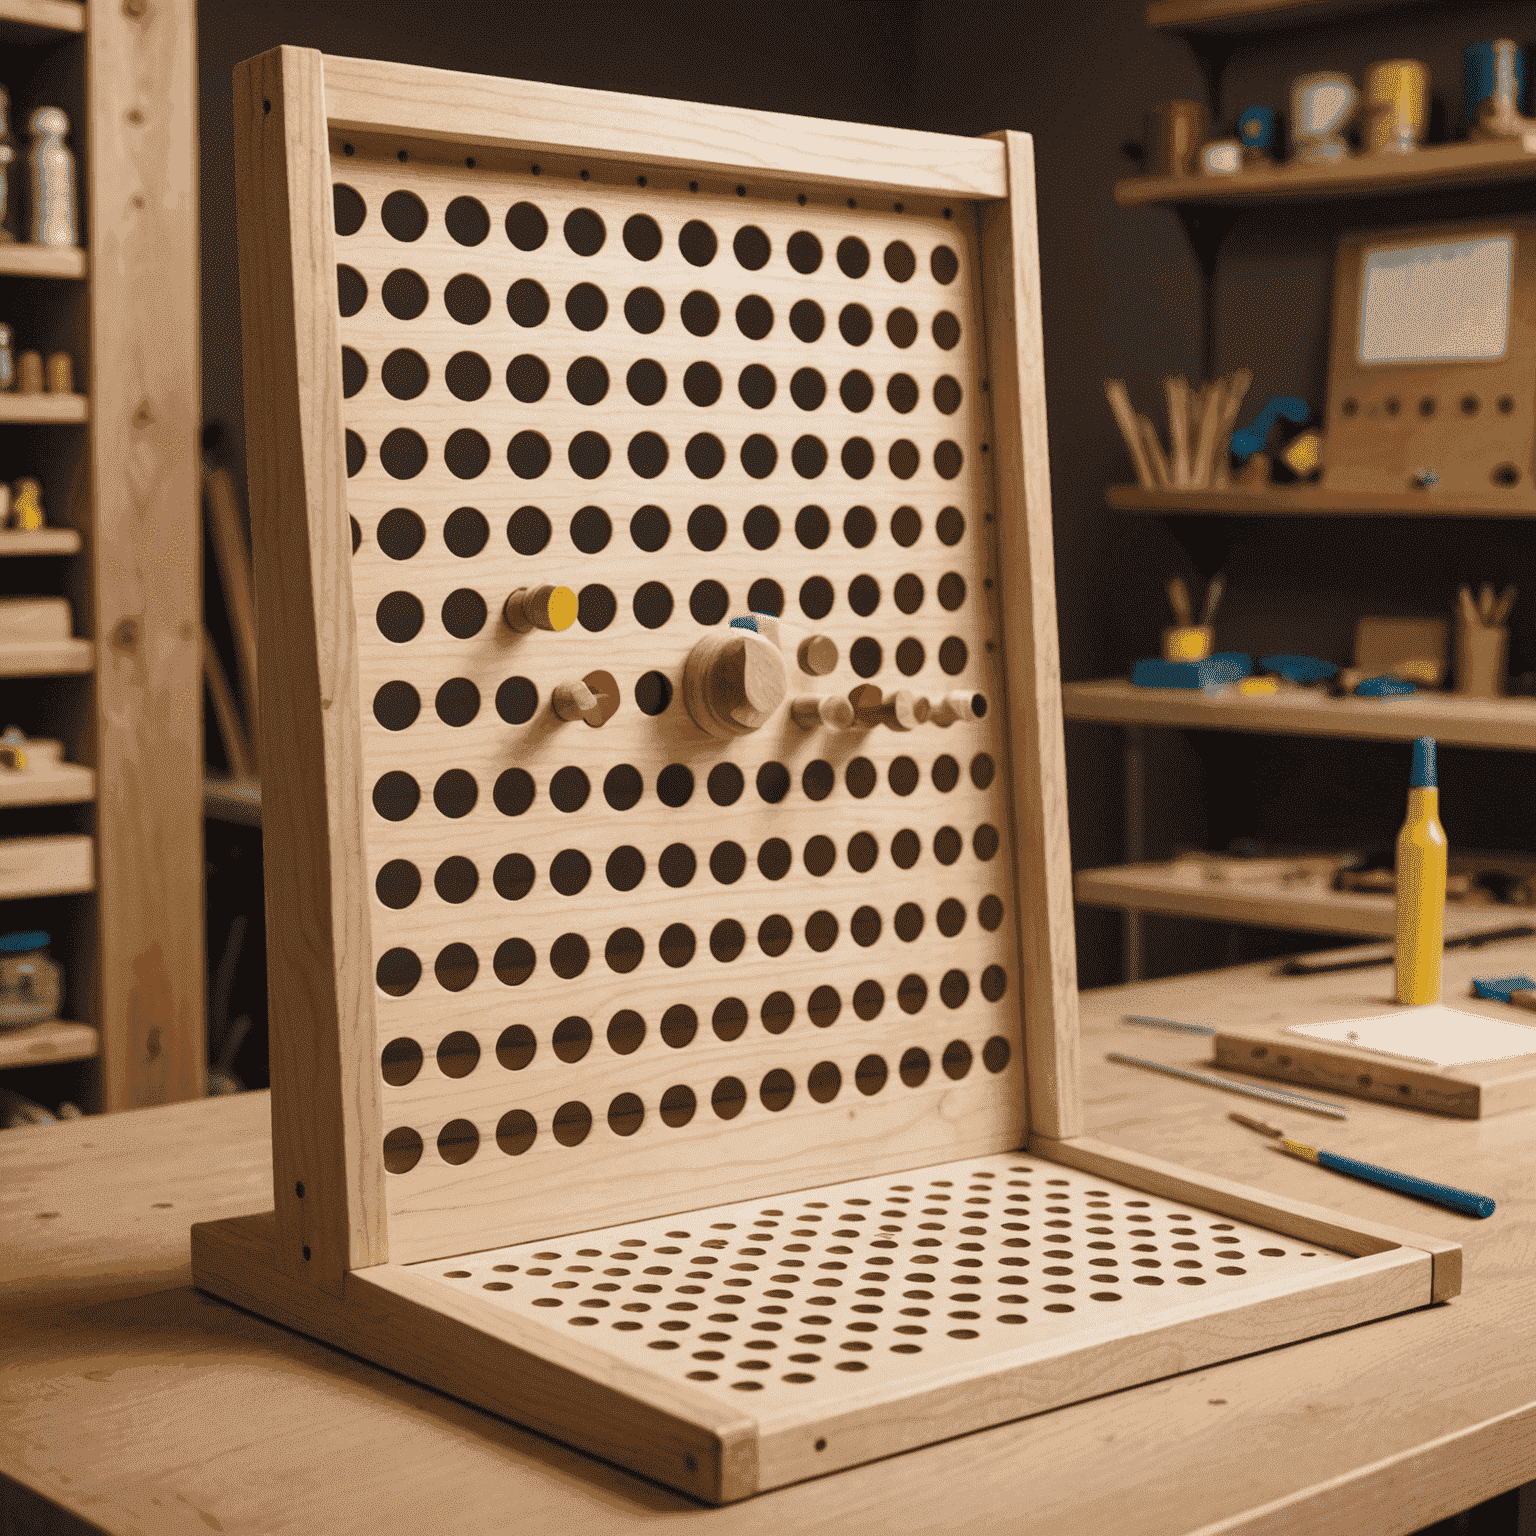
3. Drill Holes
Carefully drill holes at each marked position using your 1/4" drill bit. Take your time to keep the holes straight and avoid splintering.
4. Insert Pegs
Apply a small amount of wood glue to each dowel and insert them into the drilled holes. Ensure they're secure and upright. Allow the glue to dry completely.
5. Create Scoring Zones
At the bottom of the board, create 7-9 scoring zones by attaching thin strips of wood or using paint to delineate sections.
6. Add the Plexiglass (Optional)
For a professional finish, cut a plexiglass sheet to size and attach it to the front of your Plinko board, leaving the top open for dropping discs.
7. Final Touches
Sand any rough edges, add score values to your scoring zones, and consider adding a coat of clear varnish for protection.
Tips for Success
- Use a template to ensure consistent spacing between pegs.
- Test your board with a few drops before finalizing to ensure proper disc movement.
- Consider adding LED lights for a fun, arcade-like effect.
- Experiment with different scoring zone layouts for varied gameplay.
With your DIY Plinko board complete, you're ready to enjoy hours of fun with this classic game. The satisfaction of building it yourself adds an extra layer of enjoyment to every drop of the disc. Happy playing!